Introduction: The Two Pillars of Professional Photo Editing
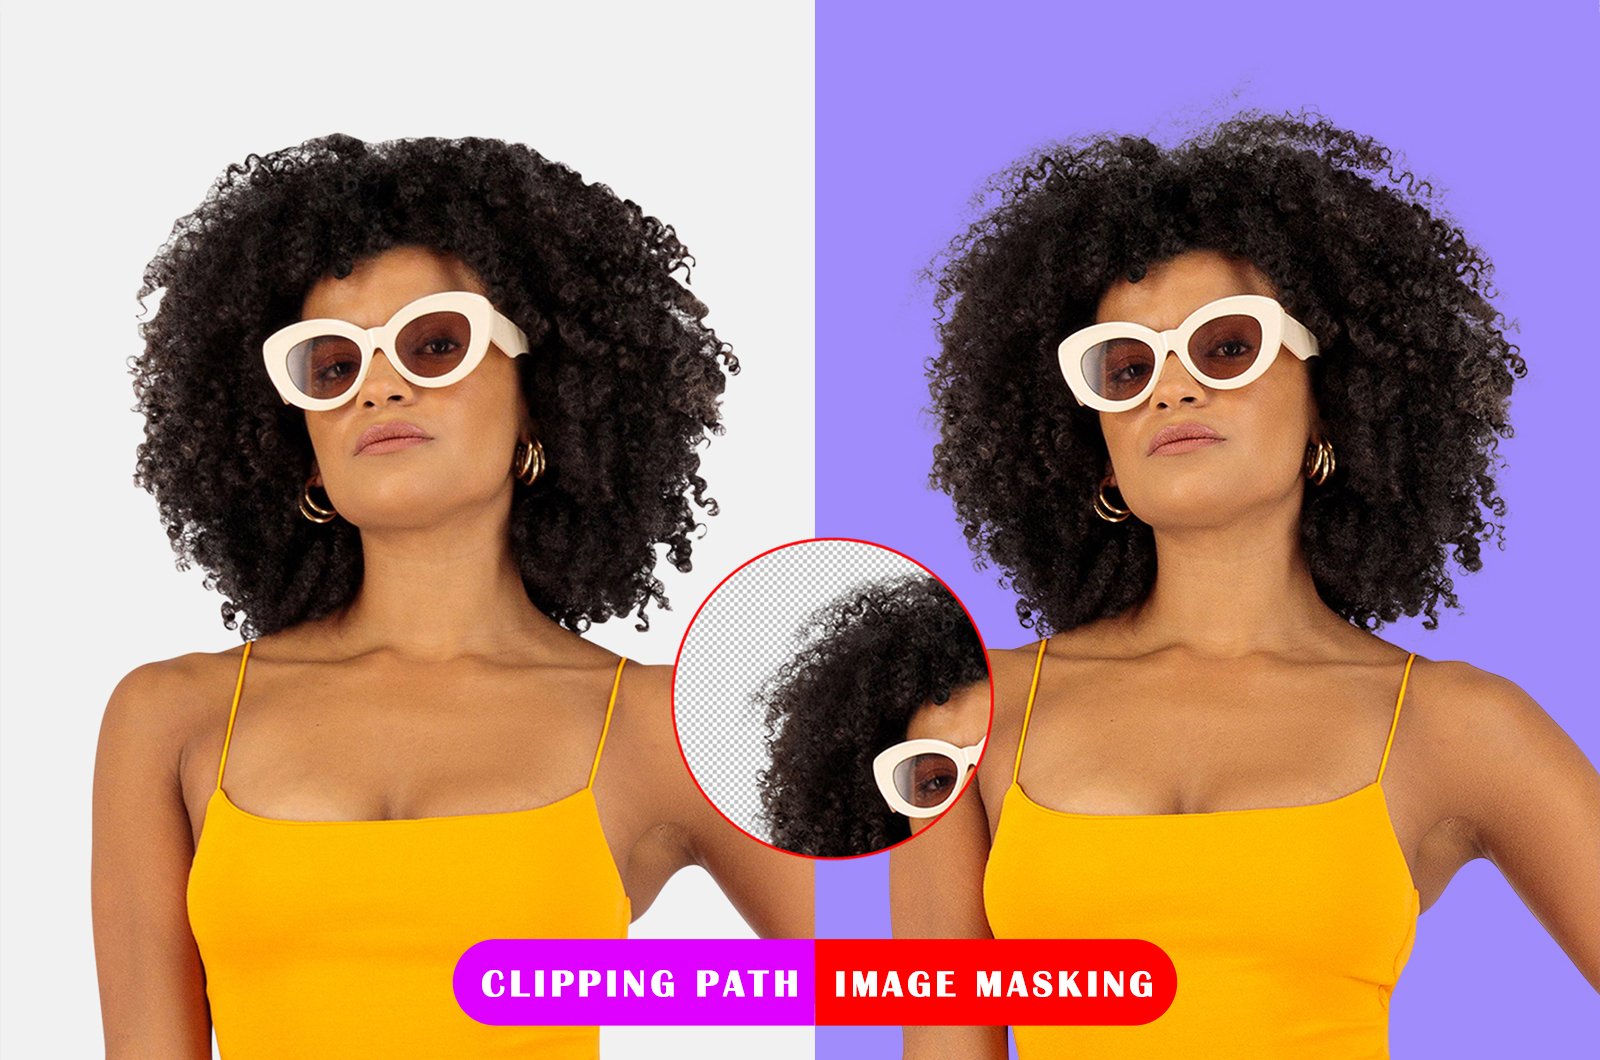
In professional image editing, two techniques reign supreme for object isolation: clipping paths and image masking. While both serve to separate subjects from backgrounds, they address fundamentally different challenges. Clipping paths excel with geometric, hard-edged objects, while image masking unlocks the ability to handle organic, complex subjects with unparalleled precision.
This comprehensive guide will explore:
- The technical differences between these approaches
- Real-world applications where masking is indispensable
- Professional masking techniques used by industry experts
- Why manual masking outperforms automated solutions
- How to choose the right method for your specific needs
Understanding the Technical Divide
Clipping Paths: Precision for Simple Shapes
Created using Photoshop’s Pen Tool, clipping paths:
- Use vector-based outlines
- Work best with clearly defined edges
- Are ideal for products like jewelry, electronics, and hard goods
- Offer fast processing for suitable subjects
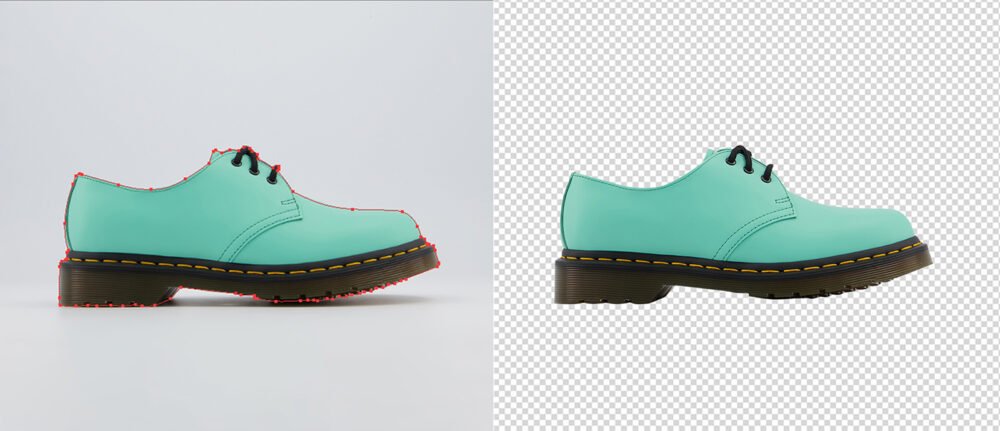
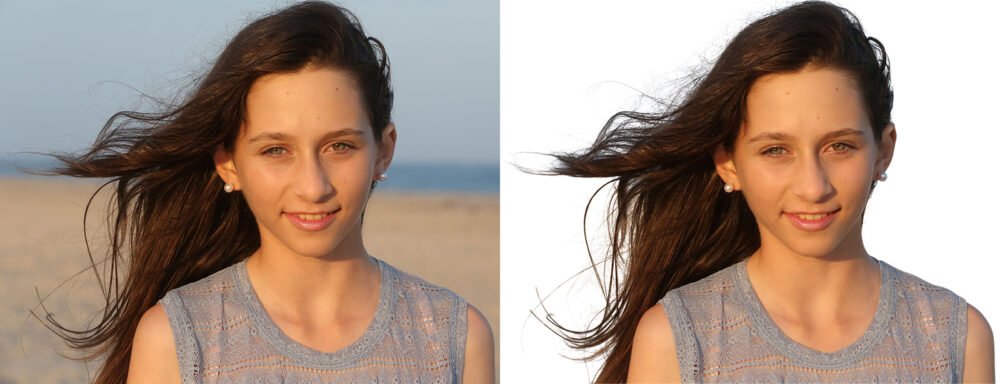
Image Masking: The Complex Subject Specialist
Image masking operates at the pixel level to:
- Preserve fine details like hair strands
- Maintain transparency in fabrics and glass
- Handle soft edges and gradual transitions
- Process challenging materials like fur and smoke
Key Technical Comparison:
Feature | Clipping Path | Image Masking |
Edge Type | Hard, defined | Soft, gradual |
Detail Preservation | Limited | Exceptional |
Transparency | Not supported | Fully supported |
Best For | Solid objects | Complex subjects |
Tools | Pen Tool | Brushes, Channels, Refine Edge |
When Image Masking Becomes Essential
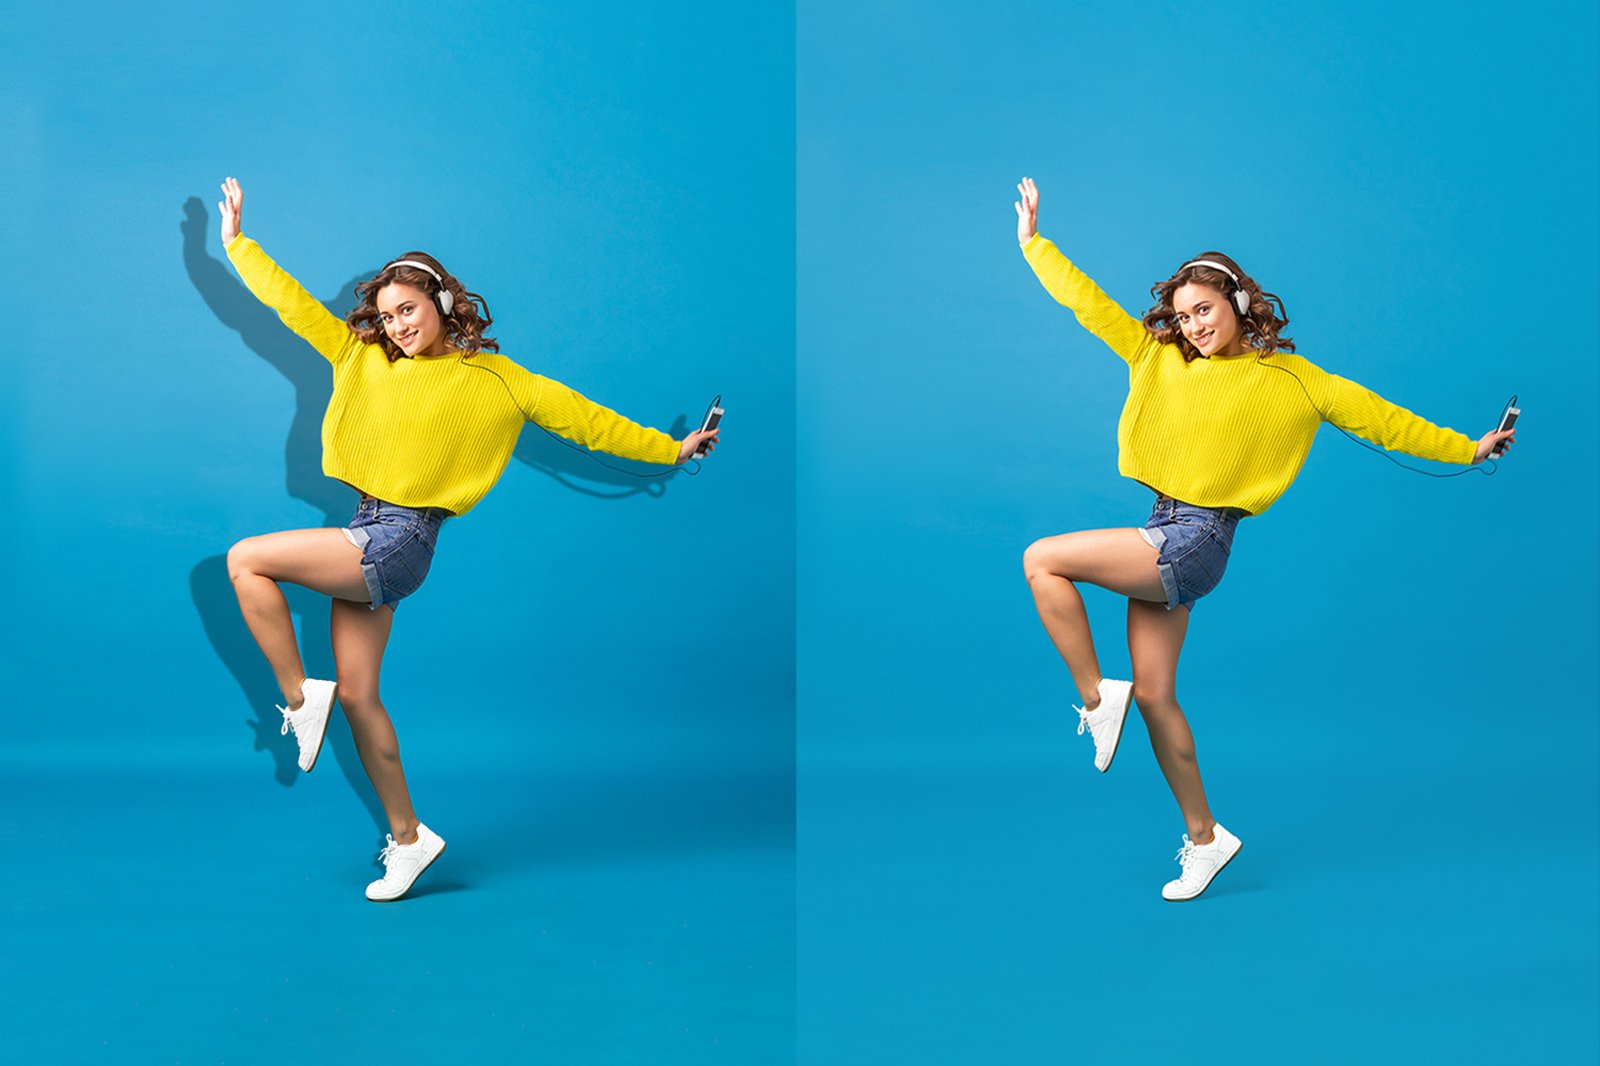
1. Fashion and Beauty Photography
Challenge: Flowing hair with countless fine strands
- Clipping path results: Harsh, unnatural edges
- Masking solution: Preserves individual hairs naturally
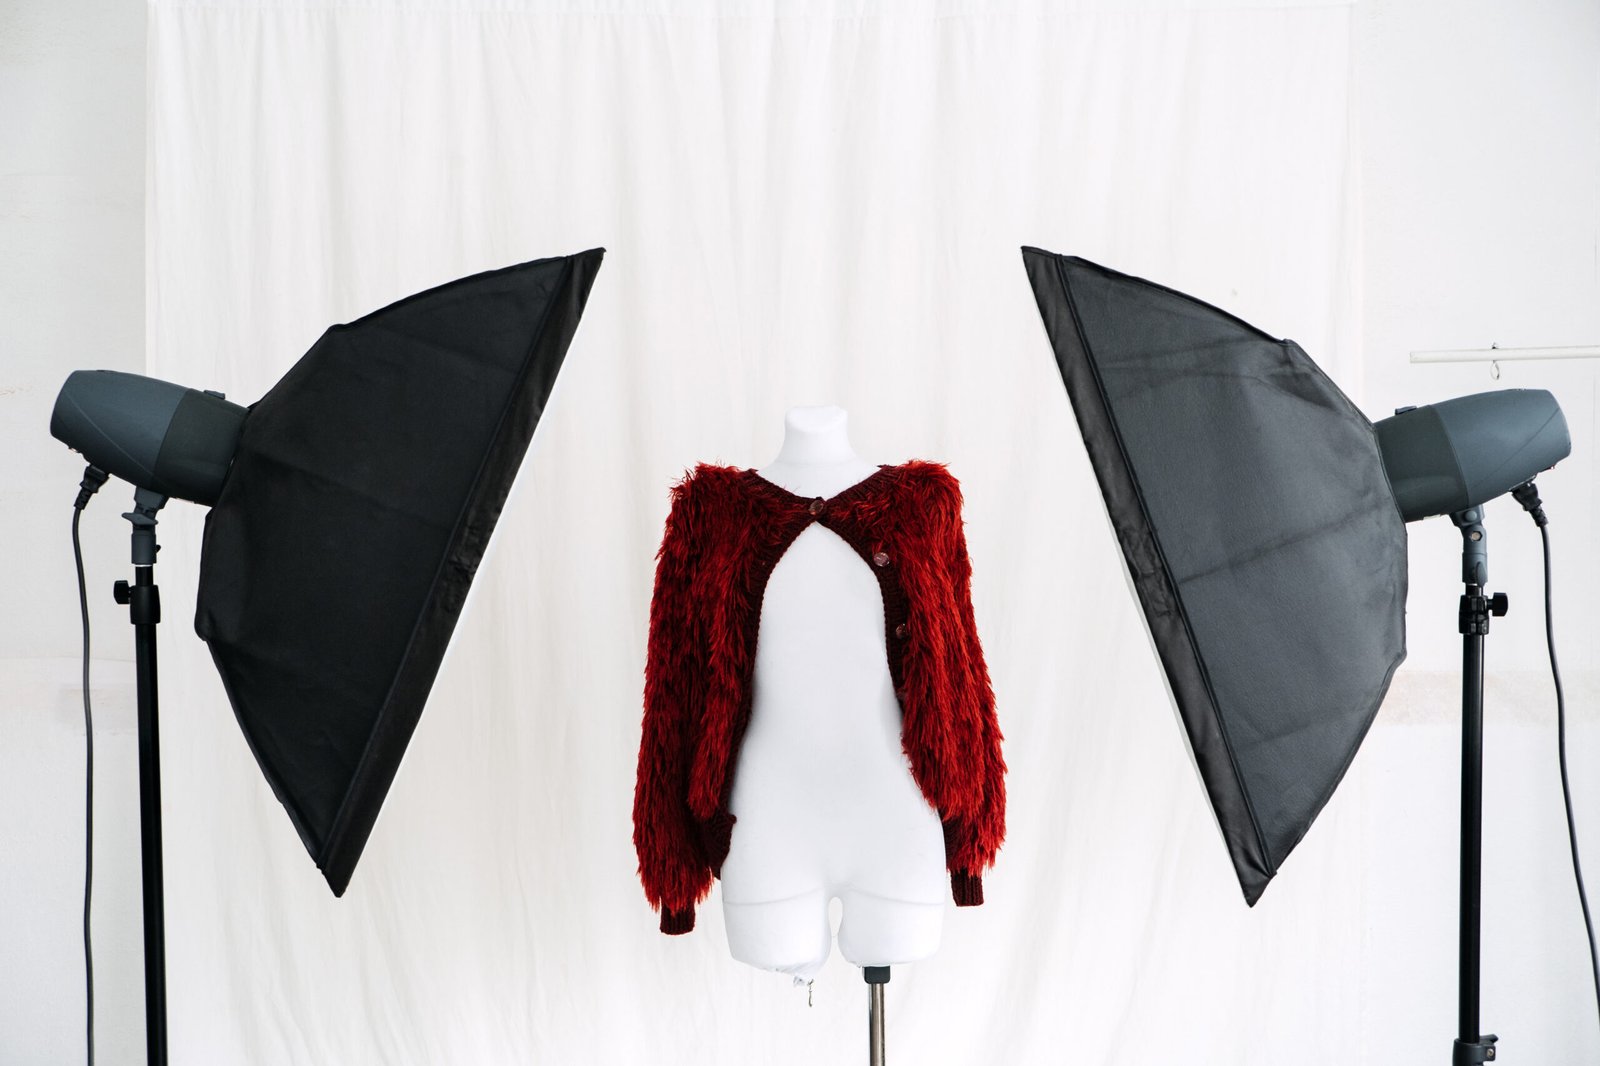
2. Product Photography with Delicate Materials
Problem Subjects:
- Sheer lingerie and wedding veils
- Plush toys and furry accessories
- Glassware and reflective surfaces
Professional Solution:
- Alpha channel masking for transparency
- Layer masking for soft blends
- Color range masking for complex textures
3. Wildlife and Pet Portraits
Critical Requirements:
- Whisker-by-whisker precision
- Fur texture preservation
- Natural shadow maintenance
Advanced Technique:
Combined use of:
- Color range selection
- Refine Edge tool
- Manual brush refinement
4. Creative Compositing
Essential for:
- Smoke and fog effects
- Water splash isolation
- Flame and light effect integration
Professional Approach:
- Channel-based masking for transparency
- Gradient masks for smooth blends
- Non-destructive editing workflow
Professional Masking Techniques Explained
1. Layer Masking Fundamentals
- Grayscale-based visibility control
- Brush tools for precise adjustments
- Ideal for background replacements
Pro Tip: Use 50% opacity brushes for natural transitions
2. Alpha Channel Masking
- Leverages color information
- Excellent for flyaway hair
- Preserves subtle edge details
Workflow:
- Create color channel duplicate
- Enhance contrast
- Generate selection from channel
3. Refine Edge/Select and Mask
Photoshop’s most powerful tool for:
- Automatic edge detection
- Smart radius adjustment
- Edge feathering control
Key Settings:
- Edge Detection: 2-5px
- Shift Edge: -10% to +10%
- Output: New Layer with Mask
4. Advanced Composite Masking
For professional-grade results:
- Combine multiple mask types
- Use luminosity masks for exposure blending
- Apply mask edge refinement
Why Professional Masking Outperforms AI
While AI tools promise quick fixes, they consistently fail on:
Detail Preservation:
- Misses 30-40% of fine hairs
- Destroys fabric textures
- Flattens transparent areas
Consistency Issues:
- Variable quality across images
- Unpredictable edge artifacts
- Poor batch processing results
Professional Advantages:
- Human artistic judgment
- Custom solutions per image
- Quality control at every step
Choosing the Right Service Provider
When selecting a masking service, evaluate:
- Portfolio Depth
- Hair masking samples
- Transparency examples
- Complex subject experience
- Technical Capabilities
- Photoshop expertise
- Advanced technique mastery
- File format support
- Business Considerations
- Turnaround times
- Revision policies
- Volume discounts
The Professional Difference in Practice
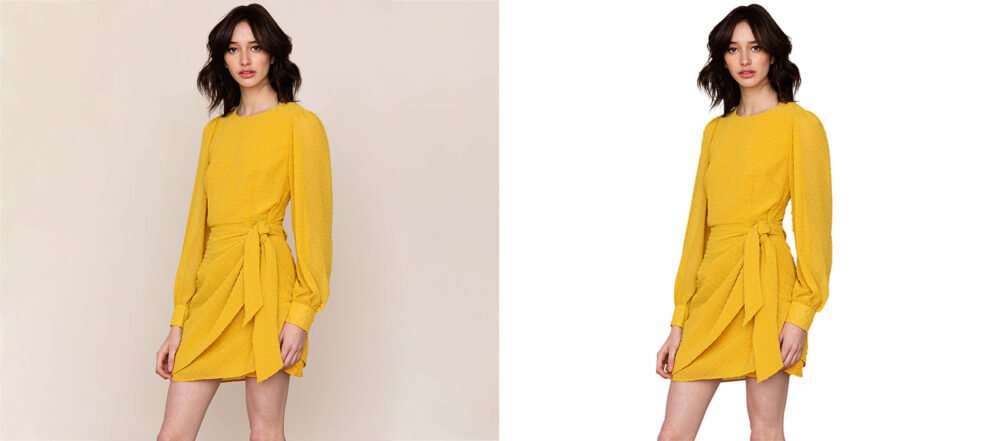
Case Study: Ecommerce Fashion Retailer
- Challenge: 500 product images with diverse fabrics
- Solution: Custom masking approach per material type
- Results: 40% increase in conversion rates
- Key Benefit: Accurate representation reduced returns
Conclusion: Mastering the Art of Precision
Understanding when to use image masking versus clipping paths separates amateur edits from professional results. For subjects requiring:
- Natural hair and fur detail
- Fabric transparency
- Complex edge handling
- Professional composites
Image masking remains the undisputed champion. While requiring more skill and time than clipping paths, the visual quality payoff justifies the investment for commercial applications where image quality directly impacts business results.
Ready to Experience Professional Masking?
Try our expert services with a no-risk sample:
- Submit 2 test images
- Receive professionally masked versions
- 24-hour turnaround
- No obligation commitment
FAQs
1. When should I use image masking instead of a clipping path?
Answer: Use masking for:
- Hair/fur
- Transparent objects (glass, veils)
- Smoke, fire, or soft gradients
2. Can’t I just use AI tools like Remove.bg?
Answer: AI is fast but inconsistent. For professional results, manual masking is better.
3. How much does image masking cost?
Answer: Typically $1–$5 per image, depending on complexity.
4. Which software is best for image masking?
Answer: Adobe Photoshop (industry standard), but Affinity Photo and GIMP are alternatives.
5. How long does image masking take?
Answer: 5–30 minutes per image, depending on detail.