Shadows can sometimes add depth and mood to a picture. But in many cases—especially product photography or portraits—unwanted shadows can ruin an otherwise perfect shot. If you’re here wondering how to remove shadow from picture, you’re not alone. Thousands of photographers, business owners, and designers face this challenge every day.
In this blog, we’ll walk you through how to remove shadows from pictures, whether you’re using Photoshop or want a simpler solution. We’ll also introduce tools, techniques, and expert tips to make your photos look clean and professional.
Why Shadows Can Be a Problem in Photos
Shadows aren’t always bad. But when they’re:
- Cast harshly on a product,
- Fall across the face in a portrait,
- Create uneven lighting in flat lays,
…they distract the viewer and lower the quality of your image. If you sell products online, shadows can even hurt your conversion rate. That’s why using a shadow remover tool or professional service is key.

Common Scenarios Where You Might Need to Remove Shadow from Photo
Let’s break it down with real-life examples:
- eCommerce Product Photos: Harsh shadows make it hard to see details.
- Real Estate Listings: Shadows from window frames can make a room look smaller.
- Personal Portraits: Shadows across the eyes or nose can distort facial features.
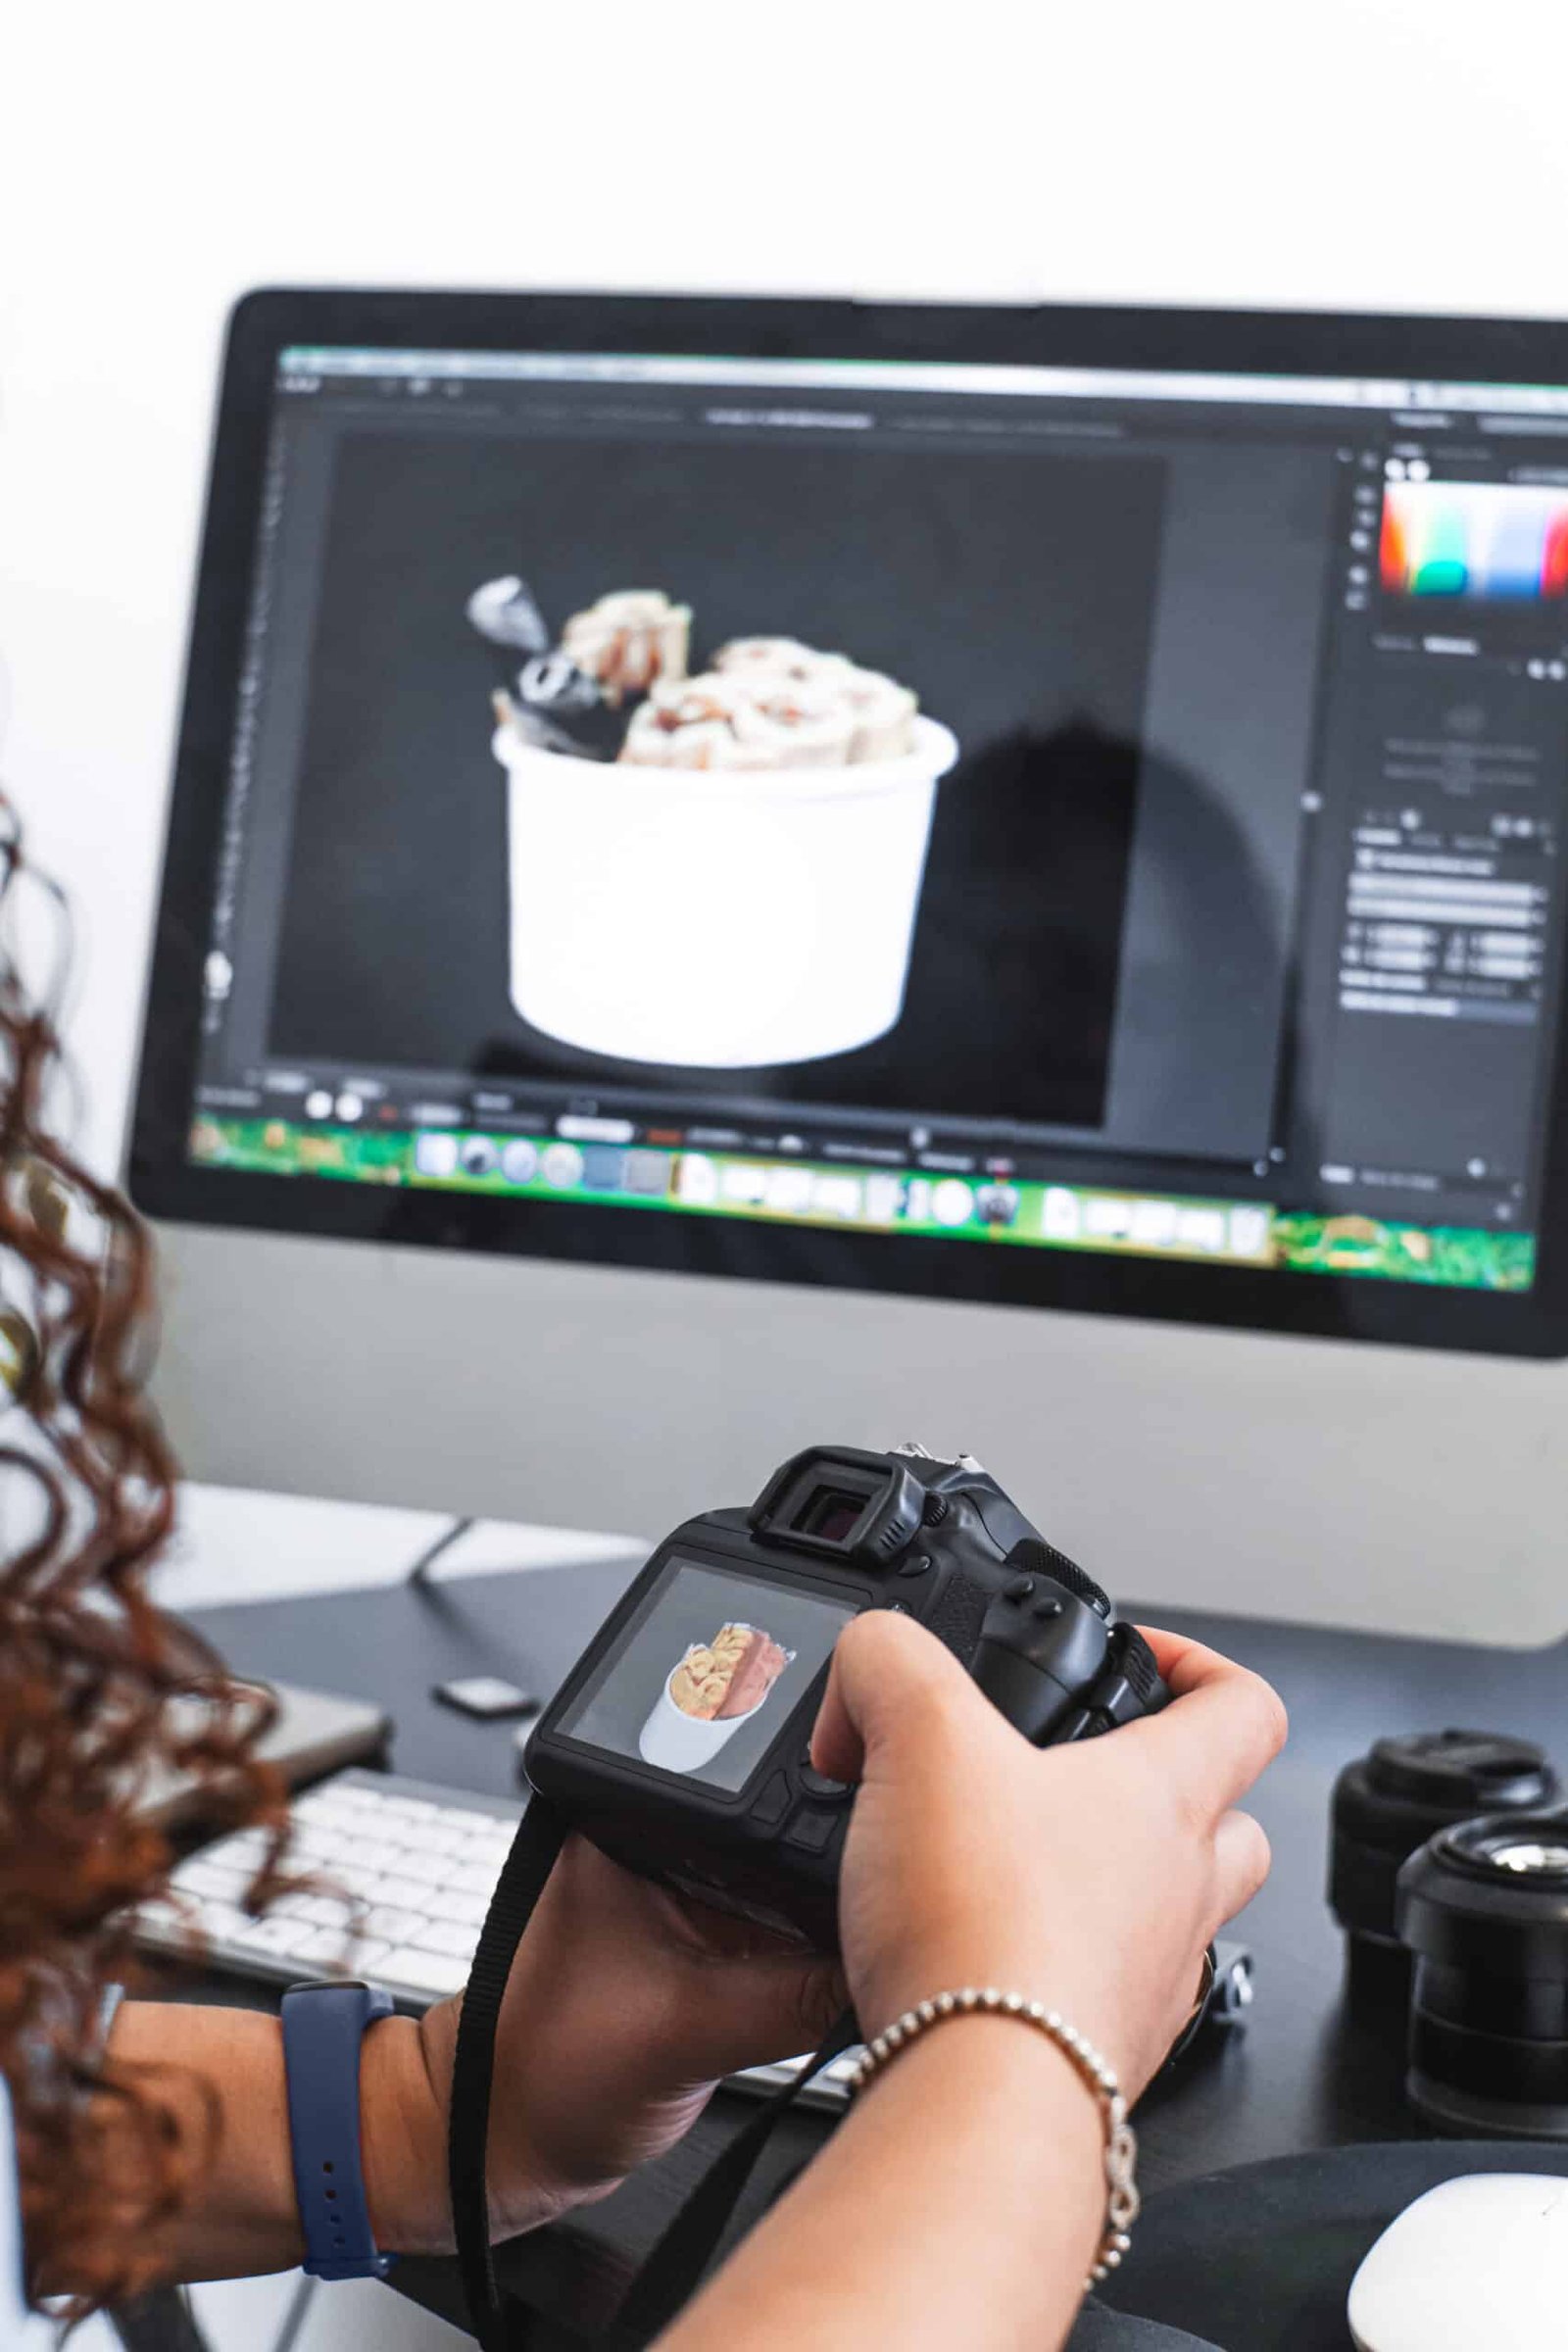
- Food Photography: Shadows create uneven lighting and color issues.
No matter the case, learning how to remove shadows from photo effectively can save your image.
Method 1: How to Remove Shadows in Photoshop (Manual Editing)
Photoshop remains the most precise way to remove shadows from photos if you know your way around it. Here’s a simple step-by-step method:
Step 1: Open the Image
Open the photo with unwanted shadow in Photoshop.

Step 2: Duplicate the Layer
Right-click the layer and select “Duplicate Layer.” This protects the original.

Step 3: Use the Clone Stamp Tool
- Select the Clone Stamp Tool (S).
- Alt-click (Option-click on Mac) a clear area near the shadow.
- Carefully brush over the shadow.

Step 4: Use the Healing Brush
For a more blended finish:
- Select the Healing Brush Tool (J).
- Use it over the clone area to smooth out inconsistencies.

Step 5: Adjust Brightness/Contrast
Go to:
Image > Adjustments > Brightness/Contrast
Tweak settings to match the lighting balance.

This method is detailed but gives high-quality results if done with care. That’s why professionals prefer Photoshop when clients ask how to remove shadows in Photoshop.
Method 2: Online Shadow Remover Tools (No Photoshop Needed)
Not everyone has the time or skills to use Photoshop. Thankfully, there are many photo shadow remover tools online:
1. Remove.bg
- Upload your photo
- The AI detects and removes background shadows automatically
- Great for quick edits
2. Fotor
- Offers an “Object Remover” that works for shadows
- User-friendly for beginners
3. Photopea (Free Photoshop Alternative)
- Works directly in your browser
- Has clone and healing tools similar to Photoshop
These tools can be great when you want to remove shadow from photo without downloading software.
Method 3: Hire a Professional Shadow Removal Service
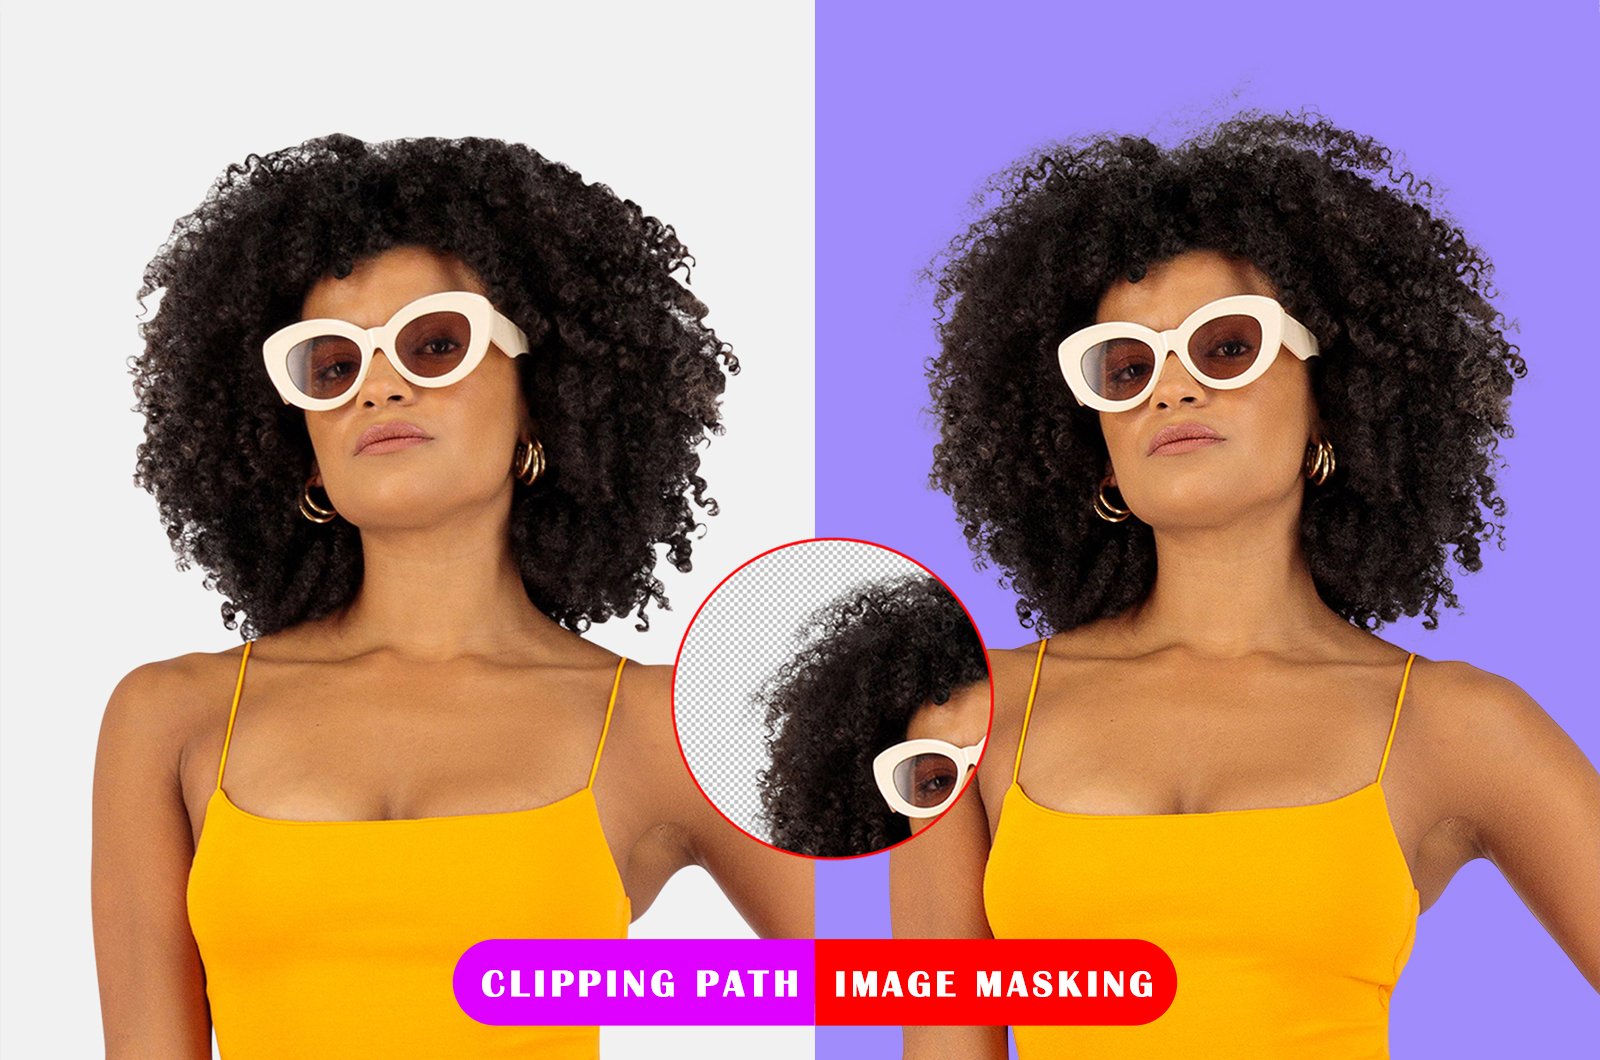
Sometimes, shadows are tricky—especially those around hair, transparent items, or reflective surfaces.
That’s when businesses like Clipping Path Company Int step in. Our professional editors offer:
- Manual Photoshop editing
- Precise shadow remover techniques
- High-volume processing for eCommerce or brands
- 100% quality assurance and fast turnaround
For complex jobs, hiring an expert ensures shadows are removed cleanly without damaging the image.
Best Practices to Avoid Shadows in Photos (So You Don’t Have to Remove Them)
Removing shadows is helpful, but prevention is better. Here’s how to shoot clean images:
- Use Soft, Diffused Lighting: Avoid harsh direct light.
- Position Lights Strategically: Use fill lights to soften shadows.
- Adjust Camera Angles: Move the subject or camera to avoid unwanted shadows.
- Shoot Against White Backgrounds: Makes it easier to detect and remove shadows later.
When shadows do appear, knowing how to remove shadows from pictures will help you salvage your work.
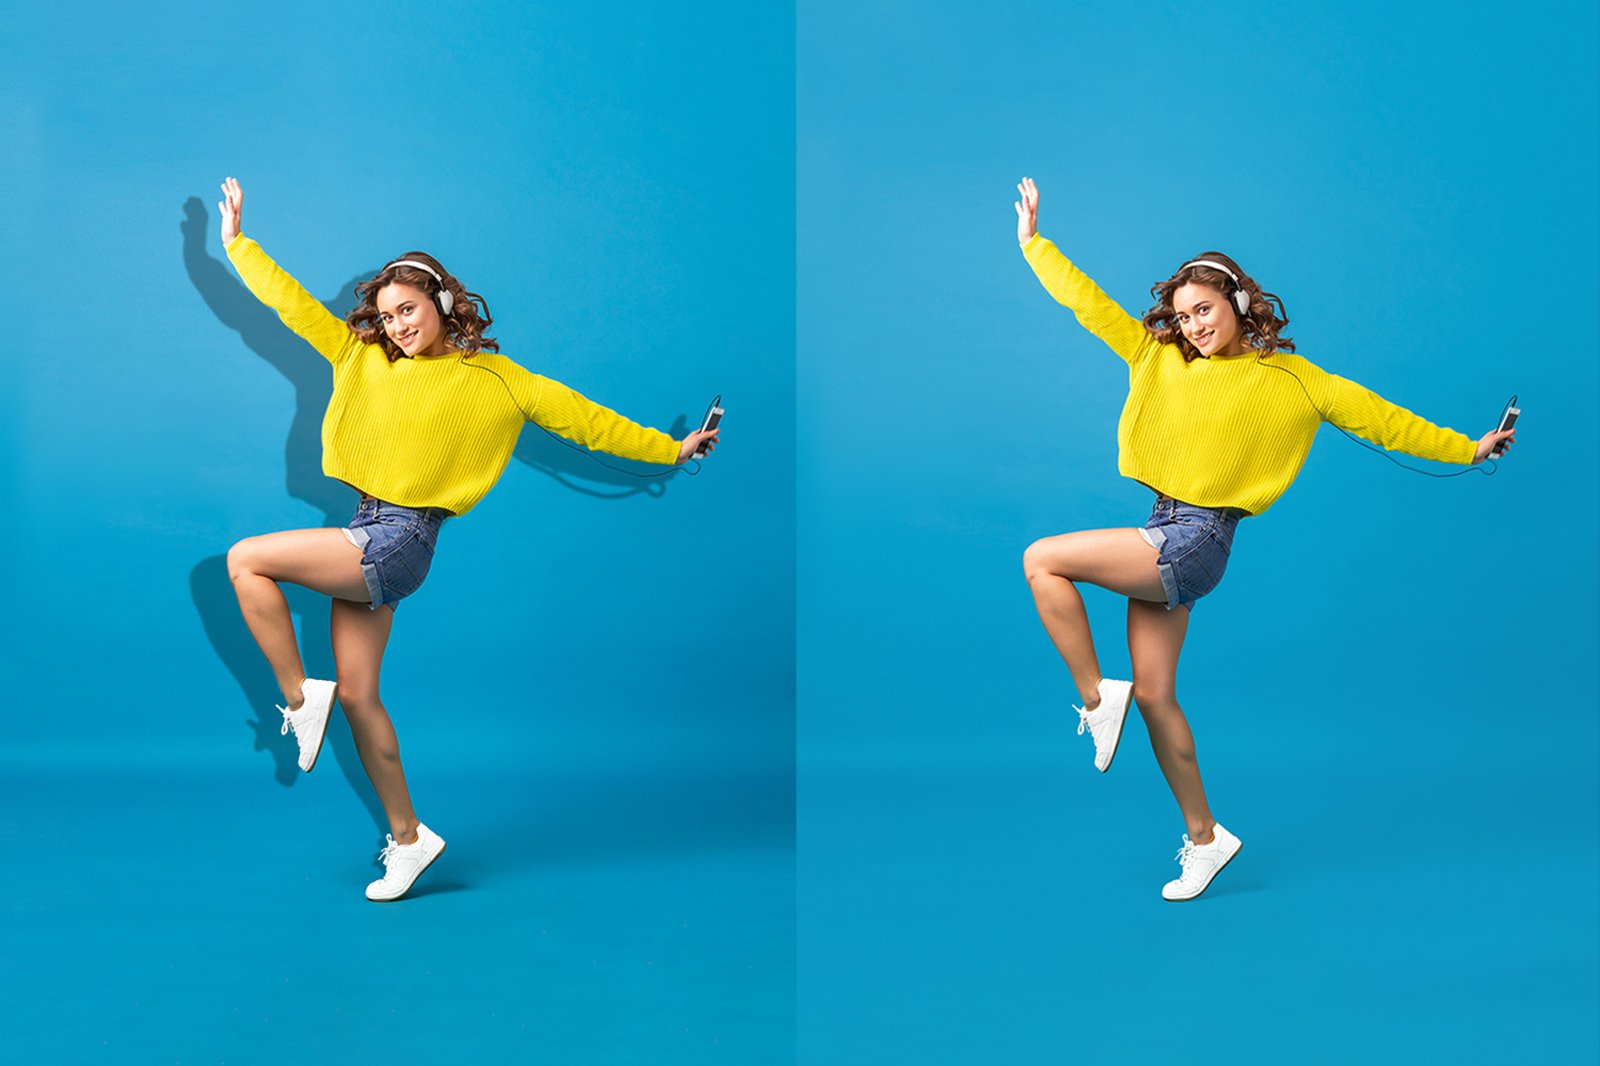
How We Remove Shadows from Photos at Clipping Path Company Int
We follow a hybrid method for perfect results:
- Image Assessment: We analyze shadow type (soft, hard, cast, object shadow).
- Layer-Based Masking: Allows fine control over edges and transparency.
- Clone + Healing Combo: Removes shadow without altering texture.
- Color Correction: Matches the light and tone across the whole image.
- Final QA Review: Every image is reviewed by a senior retoucher.
Whether you’re dealing with product images or creative content, our photo shadow remover workflow ensures every detail looks perfect.
SEO Tip: Why Removing Shadows Improves Image Ranking Too
Removing shadows isn’t just about looks—it can improve your website’s SEO:
- Cleaner images reduce bounce rate
- Improved image clarity boosts conversion
- Google prefers high-quality visuals in Image Search
So when you remove shadows from photo, you’re also optimizing for search engines.
Final Thoughts
Learning how to remove shadow from picture is essential if you want your visuals to look clean, professional, and market-ready. Whether you’re a product photographer, designer, or eCommerce seller, clean images are non-negotiable.
If you want fast, accurate, and high-quality shadow removal, let our expert editors help. Visit Clipping Path Company Int today for a free quote.
Frequently Asked Questions (FAQs)
Q1. What is the easiest way to remove shadow from a photo?
Use tools like Remove.bg or Fotor if you need a quick and simple solution.
Q2. Can I remove shadows from photos on mobile?
Yes, apps like Snapseed and Adobe Lightroom Mobile offer healing tools for shadow removal.
Q3. Does removing shadows reduce image quality?
If done poorly, yes. But professional services maintain quality through manual retouching.
Q4. What’s the best tool to remove shadows in Photoshop?
The Clone Stamp Tool and Healing Brush Tool work best for precise edits.
Q5. Is there a 100% automatic shadow remover?
Most tools work with AI, but for complex photos, manual editing still gives the best results.